Posted on

No – Bake Eggless Chocolate Tart

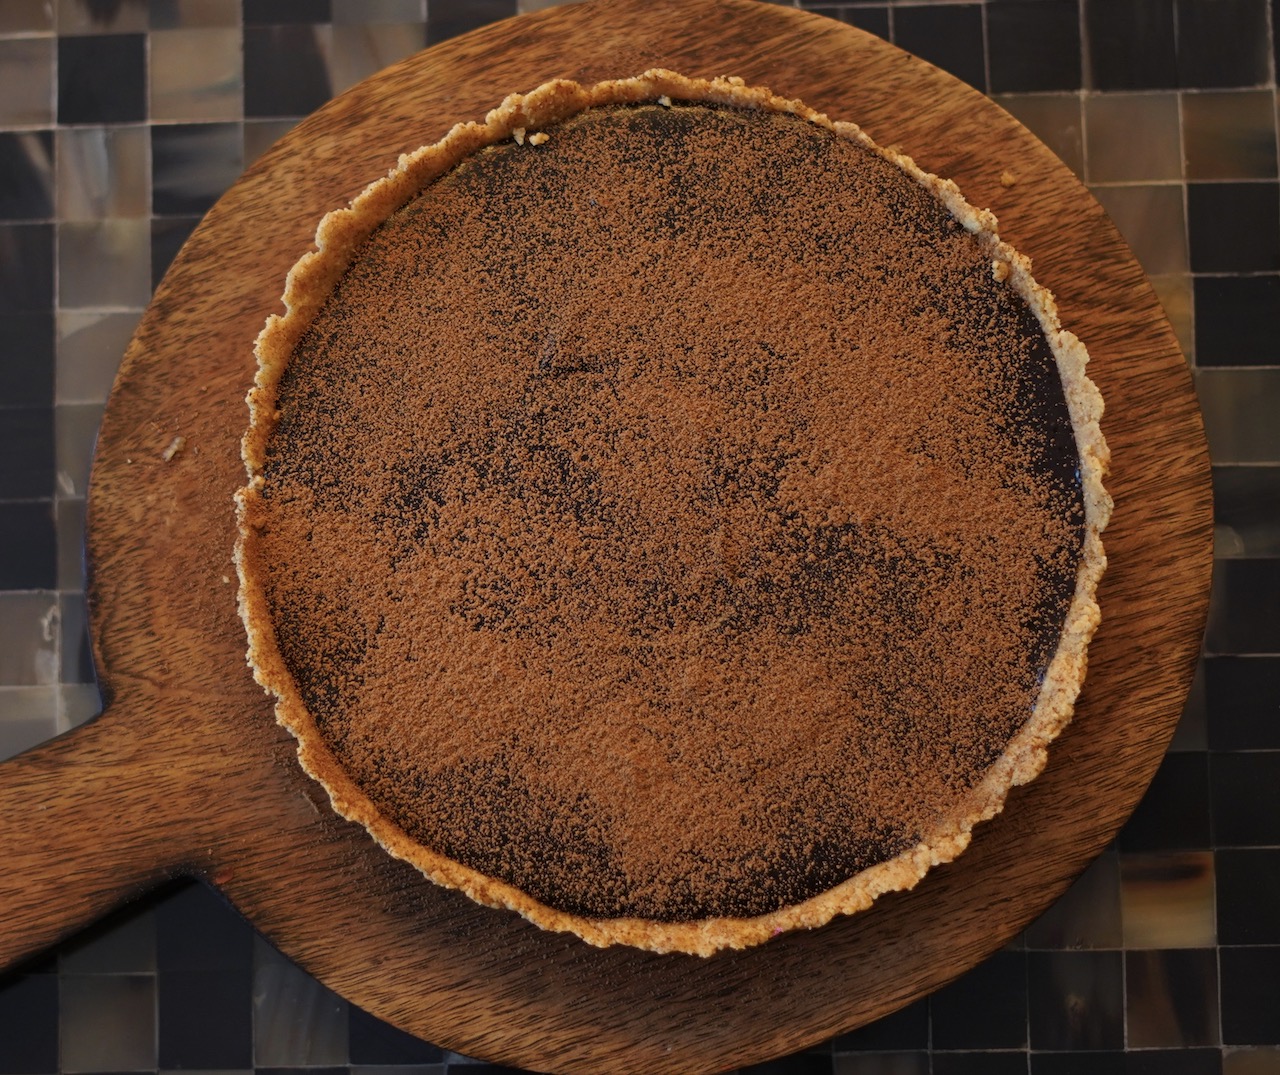
no-bake-eggless-chocolate-tart.

The weekend is upon us and I cannot resist making a dessert anymore! This No – Bake Eggless Chocolate Tart is the perfect recipe for the weekend! It is rich, decadent, delicious and super easy to make!

This recipe consists of a few simple steps and can be made within a few hours. So I absolutely see no reason for you to refrain from making this tart.

A buttery crust, with a delicious and sinful chocolate filing – set to perfection in the refrigerator is all that you need on a weekend! 

The texture of this No – Bake Eggless Chocolate Tart is between cheesecake and firm mousse. It is creamy, rich and chocolatey! Chocolate is one flavour that you can never go wrong with. It is loved by everyone!

The crust of this tart is a no – bake, rich, buttery and biscuit crust. The crust is easy to work with and goes perfectly well with the rich chocolate filling. But if you truly love chocolate desserts, make sure to try the Rich Chocolate Cake with Coffee Buttercream Frosting! 

No – Bake Eggless Chocolate Tart Crust

No-bake-chocolate-tart-crust-spoonfulstories

The crust for the chocolate tart is a buttery and biscuit no bake tart. All that you need for this crust are two ingredients, crushed digestive biscuits and salted butter. To make the crust, crush the digestive biscuits in a food processor or by hand. I usually prefer doing it by hand because I like the texture of big chunks. But if they biscuit chunks are too big, the tart wont hold together. Once the biscuits are crushed, mix it with melted butter. You can use your hands to mix it well until all the crumbs are well coated. This mixture will be our crust! The melted butter is what will hold the crust together. So it is important to have patience at this step. If the melted butter doesn’t have enough time to set, the tart shell will not hold together! 

Tips for the Chocolate Tart

A tart is the most delicious, easy and versatile dish. It can be prepared in no time with very few ingredients. A tart shell can be used for sweet and savoury fillings both. From chocolate ganache, lemon curd, cream cheese or simply fresh fruit! So here are a few tips and tricks to make the perfect tart shell!

choclate-tart-recipe-spoonful-stories
  1. For the chocolate filling, cornflour is the ingredient that will make the filling smooth and silky and most importantly stable and thick! It is the thickening agent that we are using, but you can substitute it with custard powder. 
  2. Make sure to spread the biscuit mixture evenly in the tart tin while you make the crust. Use your fingers to gently even it out. If the crust is not even, you will have a haphazard and uneven crust which can easily break. 
  3. The crust is required to be set in the refrigerator for a minimum 30 minutes. This is the key to a perfectly strong tart shell.
  4. I have used dark chocolate for the chocolate filling. But you can also use milk chocolate.
  5. I have garnished the tart by dusting cocoa powder on top. You can also decorate the tart with freshly cut seasonal fruits, chocolate shavings or meringue. 

If you try this tart, do tag me on Instagram!

No – Bake Eggless Chocolate Tart

Recipe by Ishana PassiCourse: DessertsDifficulty: Easy
Servings

8

servings
Prep time

30

minutes
Cooking time

2

hours 
Total time

2

hours 

30

minutes

No – Bake Eggless Chocolate Tart is the perfect recipe for the weekend! It is rich, decadent, delicious and super easy to make!

Ingredients

  • 2 cups crushed digestive biscuits

  • 3/4 cup salted butter, melted

  • Chocolate Filling
  • 4 tbsp cornflour or custard powder

  • 1 cup melted chocolate

  • 1 tsp coffee powder

  • 2 cups + 4 tbsp fresh cream

Directions

  • Crush the digestive biscuits in a food processor or using your hands. Combine the crushed biscuits and melted butter in a bowl until a ball is formed. Make sure the it stays between your fists and does not crumble.
  • Evenly spread this mixture into a 9 inch tart tin and set it in the fridge for 30-45 minutes.
  • In a saucepan over medium heat, heat 2 cups of cream. Do not boil.
  • In the meantime, mix the cornflour with the remaining 4 tbsp cream. Make a paste and keep aside.
  • Add the coffee powder and the melted chocolate into the cream. Mix it well.
  • Once combined, add in the cornflour paste. Keep stirring until thick to avoid lumps.
  • Once sufficiently thick, pour this mixture into the tart tin and set it in fridge for 2 hours.
Posted on

Homemade Mango Ice Cream

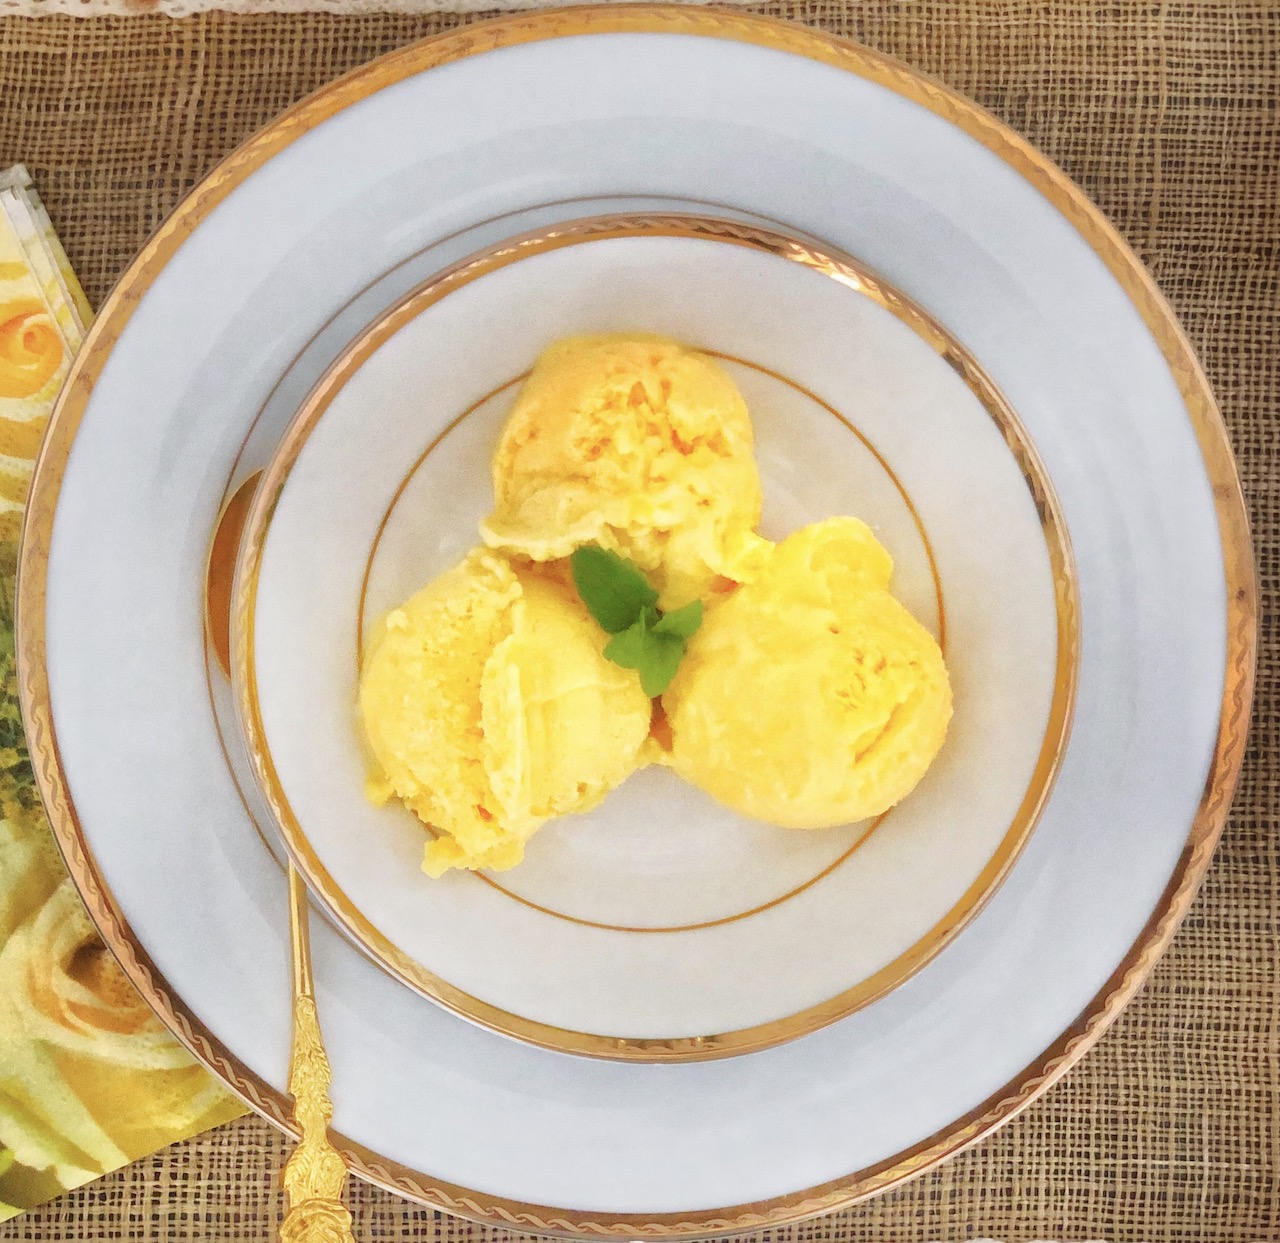
Mango-Ice-Cream-recipe-Spoonful-Stories.

All you need is 3 ingredients to make this Homemade Mango Ice Cream an absolute hit this summer season! This easy homemade ice cream is sweet and creamy, and the taste of mango will leave you wanting for more. This really is a creamy ice cream made without an ice cream machine!

The Homemade Mango Ice Cream recipe is dedicated to all of you, like me, who have been disappointed before by the efforts to make homemade ice cream. That is, without an ice cream maker! 

The traditional way of making ice cream is by making a sweet mixture of eggs and cream. The mixture is then churned in the ice cream machine as the ice cream gradually freezes. There are two benefits of churning; it helps in aerating the mixture to make it light and fluffy and it prevents the icicles from forming which makes the ice cream creamy rather than icy. 

The problem with no churn, milk ice cream is that they freeze into solid blocks of ice. And if you leave them out to soften for a few minutes they melt into a liquid. 

How to make the ice cream creamy?

Two simple ingredients are needed – condensed milk and cream! Condensed milk is the ingredient that keeps the creamy texture in the mixture. Milk can also be used, but once frozen and if you have missed the perfect window to scoop it out, then it’s a frozen block of solid ice! And if you leave it out to soften, it turns into a puddle of liquid. The whipped cream helps to aerate the mixture which makes the ice cream light and fluffy. 

Simply whip the cream, fold through the condensed milk and the reduced mango puree.

Why should I simmer and reduce  the mango puree? 

Simply pureeing the mangoes and plonking it to the mixture would make the ice cream icy instead of icy. It wouldn’t make the whole mango ice cream icy, but there will still be small tiny icy bits when you eat it.

So, to avoid this, reduce the mango puree by simmering it on the stove. Not only will this prevent the icy bits from forming but you will also be able to use more mango puree and enhanced the mango flavour in the puree. 

How does it compare to store bought tubs?

This Homemade Mango Ice Cream is something you definitely can’t buy at a store! It has real mango flavour and mango chunks! No artificial colouring or flavours in sight. Mango lovers, this is a dream come true!

The ice cream takes 12-16 hours to freeze and just a few minutes to soften before you get that heavenly scoop of mango ice cream. The ice cream is really scoop-able! After 24 hours, it freezes more firmly, leave it out for 5 minutes and it’ll soften to become scoop-able without melting. 

Don’t forget to try the Mango Panna Cotta if you’re looking for more mango recipes! 

I would love your suggestions if you try this recipe! Tag me on Instagram @spoonfulstoriesbyishanapassi

Homemade Mango Ice Cream

Recipe by Ishana PassiCourse: Desserts
Servings

10

servings
Prep time

20

minutes
Cooking time

10

minutes
Total time

30

minutes

This easy homemade ice cream is sweet and creamy, and the taste of mango will leave you wanting for more.

Ingredients

  • 3 Cups mango puree

  • 1 can condensed milk

  • 1 cup heavy cream

  • 1 cup diced mango

Directions

  • Pour the mango pure in a non stick pan over low heat. Cook stirring continuously for 10-15 minutes. When the puree is reduced by half, set aside to cool.
  • Combine the cooled mango pure and condensed milk in a bowl.
  • Using a hand mixer, whip the cream until stiff peaks are formed.
  • Fold half of the cream into the mango mixture using a spatula until mostly combined and then fold in the remaining. Lumps will appear, but keep folding through until lump free.
  • Mix in the diced mango and pour into a container. (Preferable a glass container with a lid). Otherwise any non reactive container.
  • Place a piece of parchment paper or cling film on the surface and then place the lid.
  • Freeze for 12-16 hours. Leave it out on the counter for a few minutes to soften. Scoop and serve!
Posted on

Eggless Chocolate Biscuit Pudding

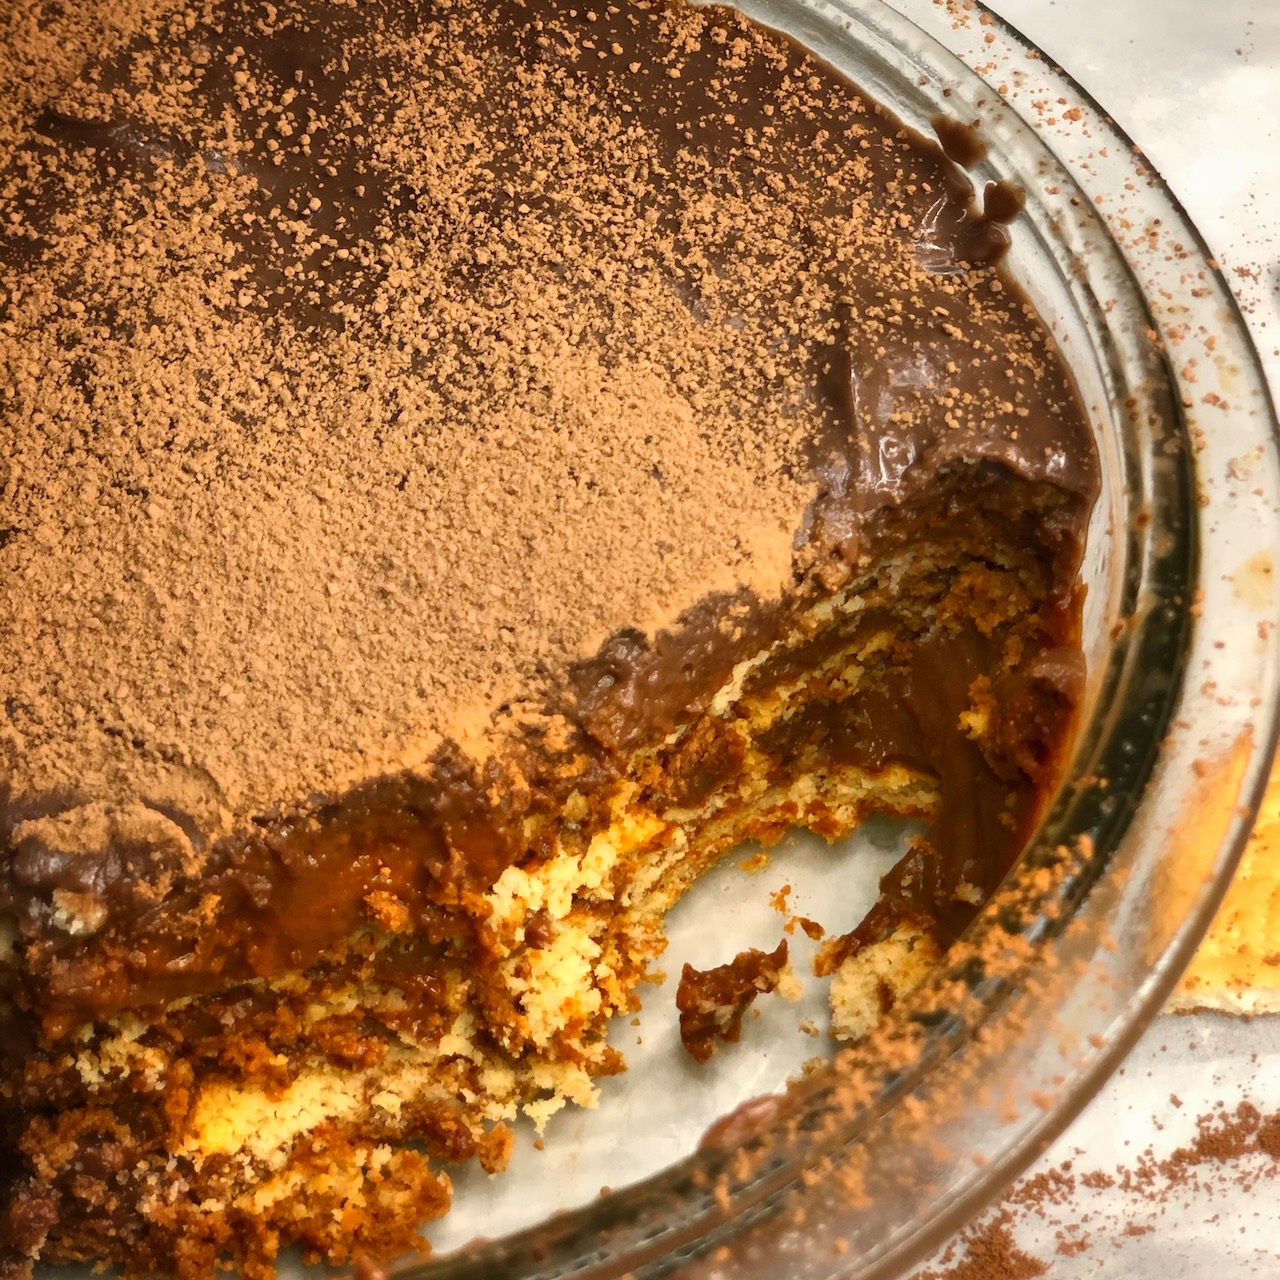
Eggless-Chocolate-Pudding-Spoonful-Stories

You don’t need to be a baker to make this Eggless Chocolate Biscuit Pudding. It is simple, effortless and will surely explode your taste buds! This pudding has all the good things, layers of chocolate and biscuits dunked in coffee. 

One doesn’t always have to make elaborate desserts, some don’t require baking and this recipe is one of them. Get your family together and have heart to heart conversations over this decadent dessert. I assure you this heart warming dish will be a binding agent and will be gobbled up within minutes!

If you are new to making desserts then this is the perfect recipe to start with. This is truly the easiest dessert recipe you will ever make. It makes for the perfect party dessert. It is fancy, not many ingredients required, takes up little time to assemble and can be prepared ahead of time! 

Ingredients 

ingredients-eggless-chocolate-pudding-spoonful-stories

This no bake easy dessert recipe is the perfect quick fix for any occasion. 

All the ingredients required for this Eggless Chocolate Biscuit Pudding recipe are everyday pantry staples that we all use in our household. Milk, cornflour, sugar, coffee powder, boiled water and biscuits. I have used McVities Digestive Biscuits because they tend to soak up the coffee syrup better than other biscuits. But feel free to use any biscuits that are available in your kitchen. 

Ideal texture of a pudding 

A pudding is known to be velvety and smooth. That is why it is important to make sure that there are no lumps in your mixture while cooking the base of the pudding. 

Each spoonful of the pudding should give you a smooth, creamy and velvety texture. Even though there are many ready to eat pudding mixtures available in the market now, nothing can beat the deliciousness of the pudding you make from scratch. It involves the same time and effort and tastes much better. 

What is a biscuit pudding?

A biscuit pudding is basically a dessert which has layers of biscuits and pudding/custard. You can use any biscuit that you have or want for a biscuit pudding. Soak the biscuits in desired flavour syrup to enhance the flavour of the pudding. For this no bake dessert recipe I have soaked the digestive biscuits in a coffee syrup.

Tips for making the Eggless Chocolate Pudding

  • To get the best flavour, it is important to soak the biscuits nicely in the coffee syrup. This is what enhances the flavour of the pudding.
  • To make the chocolate pudding, you need to use a thickening agent. I have added cornflour to the milk. It is very important to mix well to make sure there are no lumps when you mix in the cornflour in the milk. 
  • While adding in the cocoa powder, it is again very important to mix it really well. Cocoa powder always creates lumps when added to a liquid. To make sure you have a smooth pudding, mix it in really well. For this I have mixed the cocoa powder in half a cup of milk and made it into the paste and then mixed it into the milk. 
  • Once the pudding is layered, allow it to rest for 6-8 hours to ensure the best flavours and look. But if you do not have much time, refrigerate it for 3 hours or until set. 
  • Before allowing the pudding to rest and cool, cover it with a cling film. Make sure it touched the surface of the pudding. This will prevent another layer being formed on top. 

If you are craving chocolate and want a no bake dessert, make sure to try the Chocolate Mousse and tag me on @spoonfulstoriesbyishanapassi

Eggless Chocolate Biscuit Pudding

Recipe by Ishana PassiCourse: DessertsDifficulty: Easy
Servings

8

servings
Prep time

15

minutes
Cooking time

3

hours 
Total time

3

hours 

15

minutes

This is truly the easiest dessert recipe you will ever make. It makes for the perfect party dessert. It is fancy, not many ingredients required, takes up little time to assemble and can be prepared ahead of time! 

Ingredients

  • 4 cups + 1 cup milk

  • 5 tbsp cornflour

  • 1/2 cup cocoa powder

  • 1/2 cup sugar, add more if you like it sweet

  • Coffee Syrup
  • 1 cup boiling water

  • 1 1/2 tbsp coffee powder

  • 1 tsp vanilla essence

  • Layering
  • 25-30 biscuits of your choice

Directions

  • In a large saucepan, heat 4 cups of milk on low heat.
  • In a bowl mix the cornflour with 1/2 cup of milk in it. Make it into a thick paste and make sure there are no lumps.
  • Add the cornflour mixture to the milk and mix well, making sure there are no lumps. Bring this mixture a boil.
  • In a separate bowl mix the cocoa powder with the remaining 1/2 cup of milk. Make sure there are no lumps and add this mixture into the saucepan. Add the sugar into the pan as well and mix well.
  • Once the chocolate and milk mixture is thick and smooth, transfer it to a bowl and set aside for it to cool.
  • Now for the coffee syrup, in a bowl mix the coffee powder, boiling water and the vanilla essence.
  • To start layering the pudding, soak the biscuits nicely in the coffee syrup and spread them all over the dish as the base of your serving dish.
  • Top the biscuit layer with the cooled chocolate pudding mixture. Then again add the layer of biscuits and repeat this process till the serving dish is full.
  • Cover with cling film and chill in fridge for 3 hours or overnight.

Recipe Video