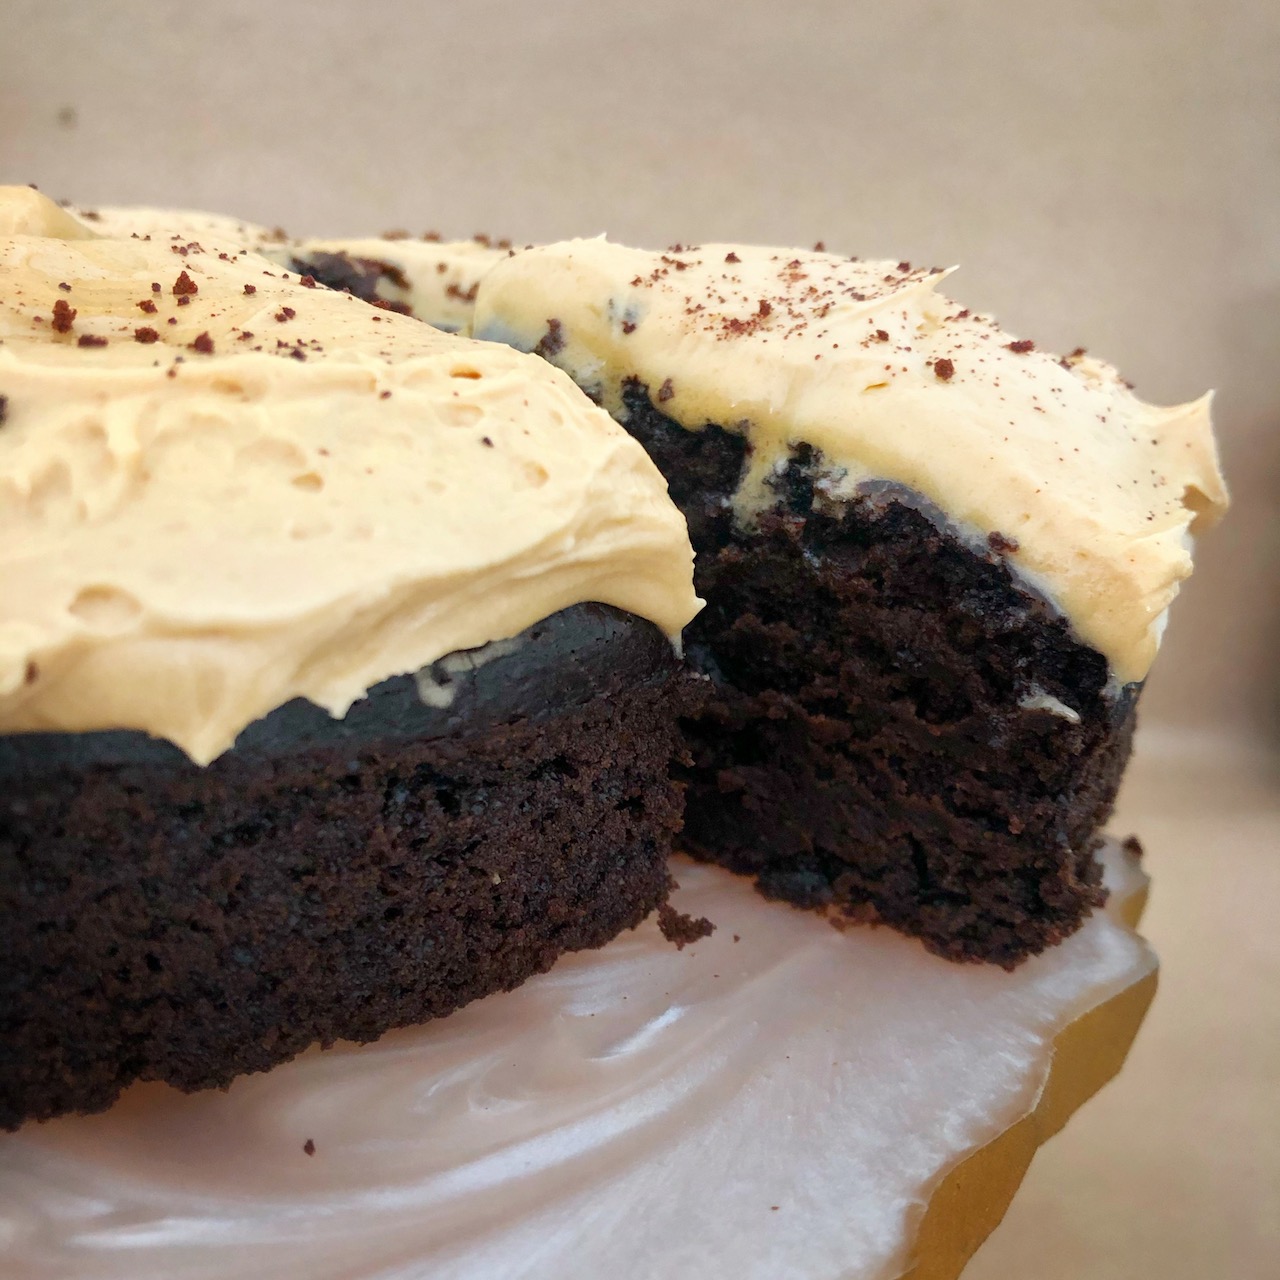
This Rich Chocolate Cake with Coffee Buttercream Frosting is incredibly chocolatey, moist and perfect for Friday night cravings!
It’s the weekend, after a serious and tiring week, nothing is better than baking therapy which requires no thinking. Whip up this Rich Chocolate Cake with Coffee Buttercream Frosting midnight and unwind yourself with this baking therapy.
This cake is rich, chocolatey, moist and it surprises me every time with how something so easy turns out to be so delicious!
It is the perfect last minute chocolate cake for any occasion or Friday night cravings. I love to cover it up in coffee buttercream frosting, which again is really easy to whip up and will leave you wanting for more. It’s not the fancy Italian buttercream, but the easy American buttercream frosting, which is basically butter, icing sugar, coffee and vanilla essence. Again, requires no brain power and makes for an easy baking therapy.
You can use this recipe to make sheet cakes, cupcakes, and layer cakes. You just cannot go wrong with this Rich Chocolate Cake recipe. Everyone who has a bite of this chocolate cake whenever I make it at home, falls in love with it and definitely asks for the recipe. You won’t be disappointed, this recipe has always been my go-to, no-fail chocolate cake recipe.

How to make ahead and store the Rich Chocolate Cake with Coffee Buttercream Frosting
This Rich Chocolate Cake with Coffee Buttercream Frosting can be made ahead. After the cake is out of the oven, allow them to cool completely. Wrap them up in cling film, put them into zip lock freezer bags and freeze them for up to one month.
Not to forget the cake and the frosting both can be made and stored for up to a month.
To frost the cake, remove the cake from the freezer and allow it to thaw in the fridge along with the plastic wrapping. Once the cake is completely thawed, you can now frost the cake.
Gluten Free Variation
To make this delicious chocolate cake gluten free, simply use an equal amount of gluten free flour instead of regular flour listed in the recipe.
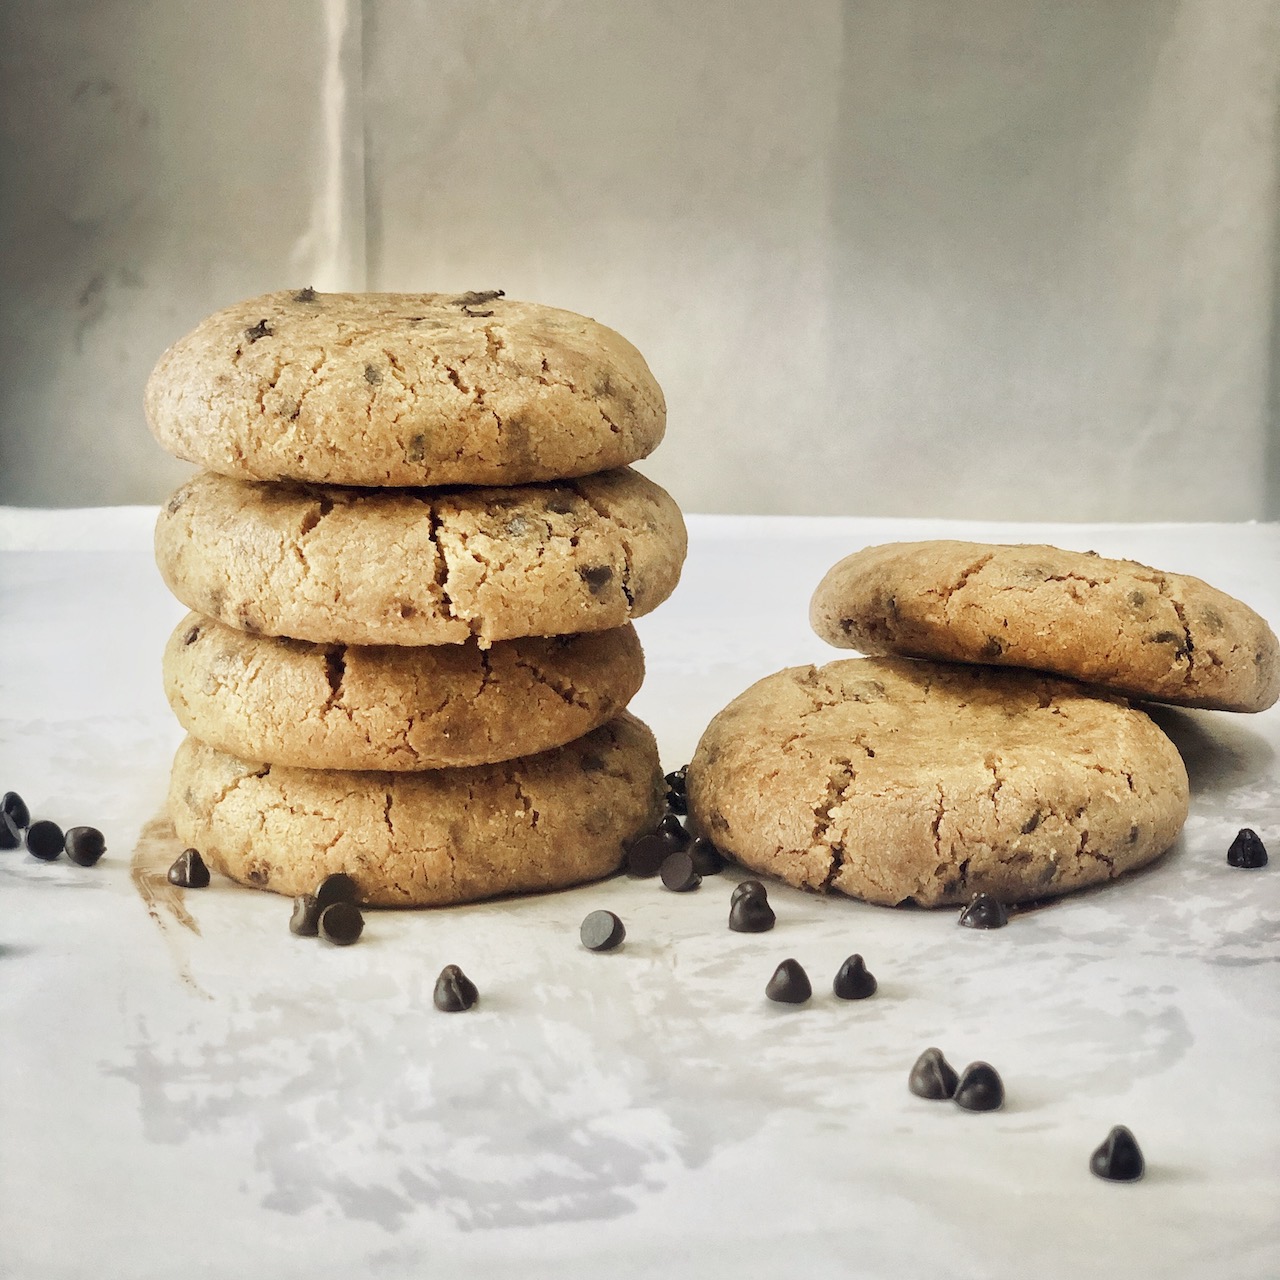
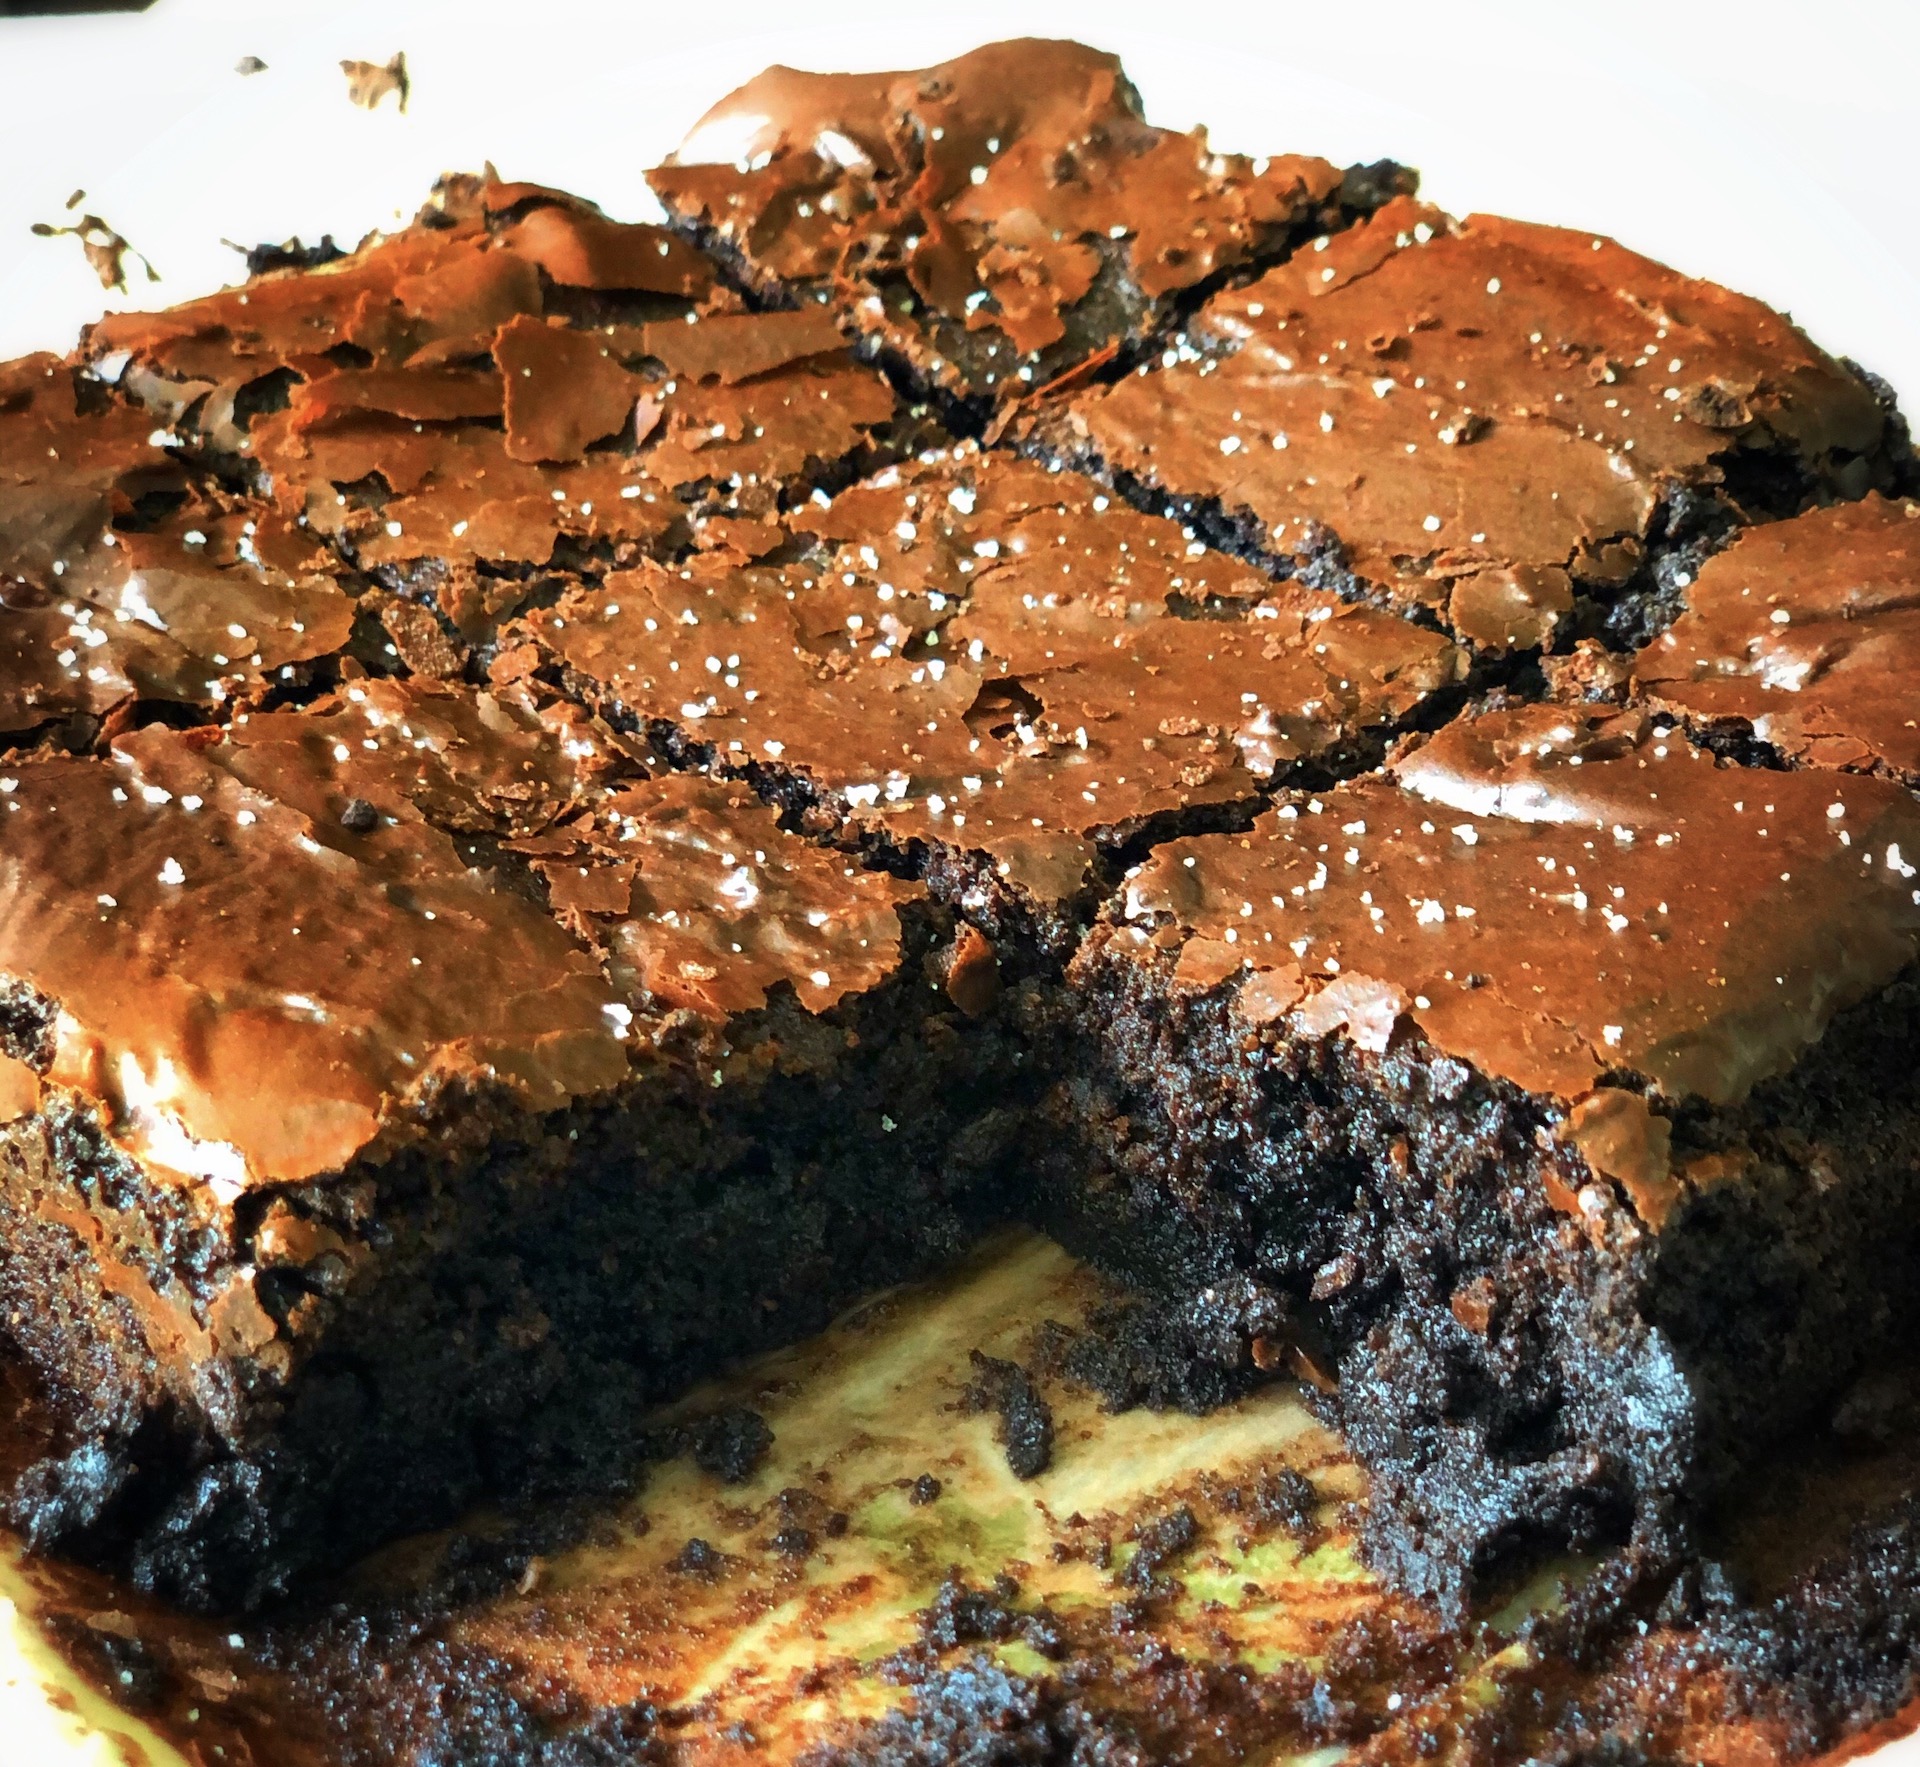
This chocolate cake is everyone’s dream. Make it to fulfil your Friday night cravings! For more such recipes, try making the Best Fudgy Chocolate Brownies!

Rich Chocolate Cake with Coffee Buttercream Frosting
Course: BakingDifficulty: Easy8
servings20
minutes50
minutes1
hour10
minutesThis Rich Chocolate Cake with Coffee Buttercream Frosting is incredibly chocolatey, moist and perfect for Friday night cravings!
Ingredients
Flour – 220 gm
Castor sugar – 260 gm
Cocoa – 75 gm
Coffee powder – 2 tsp
Baking powder – 2 tsp
Bicarbonate of soda – 1 tsp
2 large eggs
Boiling water from a kettle – 250 ml
Full fat milk – 175 ml at room temp
Vegetable oil -175 ml
- Buttercream Frosting
Icing sugar – 320 gm
Salted butter – 170 gm, soft
Instant espresso powder – 2 1/2 tsp dissolved in 15ml boiled water
Directions
- Preheat the oven at 180 and grease and line the base and side of your cake tin.
- Combine all the dry ingredients in a large bowl. In another bowl, whisk the milk, oil and eggs. Pour the wet ingredients into the dry ingredients and gently combine the two using a spoon or spatula. Mix well until you have a thick and fudgy mixture.
- Now beat in the boiling water from a kettle.Make sure you scrape the bottom and mix the batter well. When you have dark, glossy and runny batter, pour it into the tin.
- Bake the cake for 30-40 mins until the tester comes out clean.
- To make the icing, blend the icing sugar well so there are no lumps. Now add in the butter, and after a few minutes add in the dissolved coffee. Once it is well combined, transfer it to a bowl.m
- Once the cake is out of the oven, and cool spread the icing generously over the cake and garnish with coffee powder.